
Pie dough is one of those things that used to intimidate me. My mom always just bought frozen crusts, and would re-roll them to make them look more homemade, so it’s not like I had a great family recipe handed down to me. I tried my friend’s preferred recipe, which used Crisco. It was delicious when she made it, but not what I was looking for when I made it. Then I stumbled across a super duper basic recipe somewhere and I’ve been using it ever since.
This recipe makes a single crust. So if you just need a bottom, make it as written. Making a pie that has a top? Double it up. Making multiple pies? Increase it as you need to. You’re really only limited by the size of your tools, but I wouldn’t recommended doing more than a triple. Done it before and it was a little bit of a struggle, but not impossible.
This dough also doesn’t laminate the butter in so it’s not super duper flaky once it’s cooked. I mean, it’s flaky, but more of a crumbly flake if that makes any sense. Laminating dough is where you fold the dough with sheets of butter to get a lot of layers of flakiness. Think flaky biscuits vs. buttermilk biscuits. But I think laminating is a little bit more advanced if all you need is a good base for your quiche or chicken pot pie or pumpkin pie. By the way, I did outline this recipe as part of my quiche recipe, but I really wanted it to be separate so I could include step by step photos.
Maybe one day I’ll try adapting this to be gluten free now that there’s so many gluten free all purpose blends readily available, but for now I’ll just treat myself now and then to standard pie dough.
Easy Pie Dough
makes a single crust
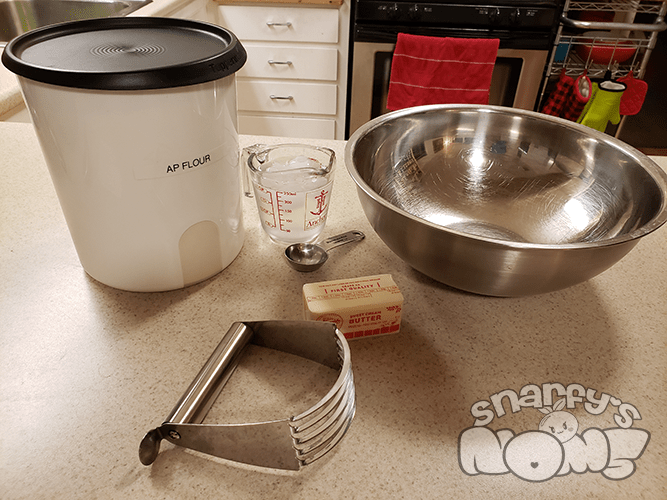
1 1/2 cups all-purpose flour
1/4 tsp kosher salt
1 stick (8 Tbsp) unsalted butter*
4-5 Tbsp ice water
*if you only have salted butter, omit the 1/4 tsp of salt


1. Combine the flour and salt in a medium mixing bowl. Cut your stick of butter into small pieces and toss into the flour mixture. Using a pastry blender, cut the butter into the flour until you end up with something resembling wet sand. Add the ice water a tablespoon at a time. You only want to add enough water to bring the dough together. Depending on how humid your area is, or even the time of year, you may not need as much to make this happen.


If you don’t have a pastry blender, you can literally cut in your butter with a couple of butter knives or use a fork. You can also do all of this in a food processor if you have one of those and want to assemble things quickly. Whatever you do, avoid using your hands too much or you run the risk of warming up the butter.


2. Time to knead lightly!
Once you can make a small ball where everything holds together, dump out the contents of your bowl onto a floured surface. There might be dry flour in the bottom of the bowl, but don’t worry. Working quickly, lightly knead the dough together. Arc says to think like you’re cleaning up really loose Playdough – the best way to clean it up is to get it to stick to itself.
If you need to, you can still add a little bit of water. If your dough feels tacky, add flour a little at a time until it doesn’t feel tacky anymore. Be careful though because you don’t want to add too much flour or water as you really want this to be a good balance of flour, water, AND butter.


Once everything holds together well, make a disk out of your dough, wrap it up, and place it in the fridge for at least 30 minutes. You can even do this a day ahead if you need to, or freeze it at this point (just make sure to wrap it very well). If you freeze the dough, make sure to defrost it completely in the refrigerator before rolling out and using it. It will keep in the freezer for about a month or so – maybe even longer. I’ve never tested it.


3. Portion and roll out!
Remember how I said this dough sizes up well? If you doubled the recipe, cut your dough in half before rolling out. Working on a lightly floured surface, roll your dough to your desired thickness and go from there. In the coming weeks, I’ll post some recipes that use pie dough, or you can get started with that quiche recipe I posted a while back.
Note: Sugar or no sugar? I don’t like a sweet crust, even with dessert. I really just enjoy a flaky buttery crust to compliment the sweetness of a dessert pie. But if YOU like a sweet crust, you can add a teaspoon of sugar at the same time you add the salt. That is entirely up to you. Though I will say, I’ve never had anyone complain about my pie dough without the sugar. 😉
By the way, none of my links are affiliate links at this time. I occasionally provide links as examples only, but please use whichever products you are comfortable with.
